Baking a cake is one of life’s simple pleasures.
But when it comes to getting the perfect texture and taste, things can get complicated. It’s especially tricky if you don’t know how to keep cake from sticking to pan. There’s nothing worse than a cake that falls apart, or doesn’t get cook all the way through!
If you want your cake to be light and fluffy, and not stick to the pan, then you’re in the right place! With our tips and tricks, you’ll be well on your way to baking success. How can you get a perfectly baked cake? Read on to find out!
Importance of Parchment Paper
First things first, you’ll want to get a roll of parchment paper. The good stuff. If you visit a smart bakery, you’ll find they have parchment paper for everything they bake.
The paper is the key to ensuring your cake doesn’t stick to the pan at the beginning. Parchment also makes it easier for you to remove it from the pan once baked.
Just make sure you grease and flour your baking dish first. Then place the parchment paper on top and go ahead with your recipe as usual!
Greasing With Butter and Flour
The next step in learning how to keep cake from sticking to pan, is to grease things up. Butter and flour are the ultimate cake baking duo! Together, they can form a barrier on the bottom of the pan.
Instead of your delicious cake bottom attaching to the pan, it’ll bind with the butter-flour layer. The result is a perfectly intact cake with extra buttery goodness.
First, melt the butter and pour it into a bowl. Next, add flour and mix well with a fork, making sure to scrape all of the edges of the bowl. You can even use your fingers to check the evenness of the spread.
Using Baking Spray
After covering the pan in butter and flour, take things a step further by baking spray. Some people find this step unnecessary, but we always do it anyway. If you’re using a baking spray, remember to spray your pan thoroughly and evenly to avoid any little baked-on bits.
Excess spray can give the cake a sour taste or mess with the texture. If there is extra spray around the edges, wipe it off with a paper towel.
Finally, add the parchment paper. You can either fold it into a bit of strip or wedge it in one of the corners. Remember, this step is only necessary if your recipe calls for greasing and flouring!
What sprays are the best? If you were cooking a healthy cake, you could look for a nourishing baking spray. For instance, there are avocado-based baking sprays that have all sorts of health benefits.
However, chances are, if you’re cooking a cake, you care more about getting an excellent flavor than counting calories. Especially if those calories help make the cake taste better while also preventing sticking! For the tastiest non-stick baking sprays, look for ones using palm shortening.
Did You Forget to Grease?
Do you need to know how to remove cake from pan, when you didn’t grease? If you skipped greasing and flouring, or can’t remember if you did it or not, don’t panic. There is a solution!
How to Handle Cake Sticking to Pan
If your cake does stick to the pan, you can usually pop it out with a spatula after letting it cool for about 5 minutes. However, if the cake completely crumbles, you’ll need to take another approach.
First, remove the parchment paper and slice off all the edges (don’t forget about the flaps on the side!) Then flip your pan upside-down and shake it slightly. The cake should fall out onto your serving dish!
Use the Right Size Pan
When using larger cake pans (and not just the 6-inch variety), it’s important to remember that they need enough room to expand while baking. Otherwise, your cake might get stuck in the pan! To avoid this, make sure always to use the correct size pan.
Most cake recipes call for 8-inch pans, but if you want to go bigger or smaller, remember to adjust your baking time accordingly.
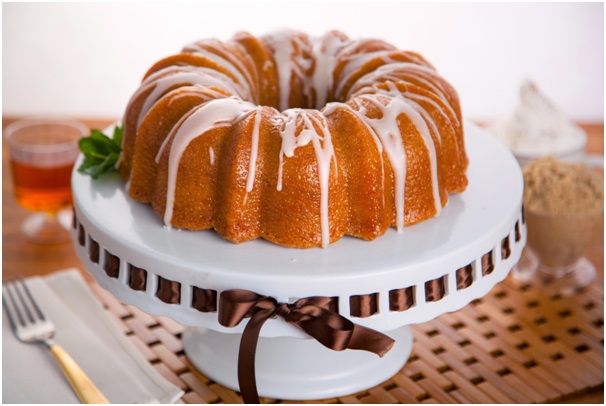
Are you using a Bundt pan? Then follow this rule: for every additional cup of cake batter, you’ll need to increase the baking time by five minutes. That means that if you’re using a Bundt pan with 4 cups of batter, you’ll only need to bake it for 50 minutes (and not 55). Finally, if you’re making two or more cakes at a time, use slightly smaller pans to ensure they cook evenly.
Cake Cooling Methods
Last but not least, let’s go over the best cake cooling methods. Yes, there is a right way, and a wrong way, to cool your cake after baking it! If you don’t want crummy-looking cracks forming on top of your cake, you’ll need to cool your cake carefully.
First of all, if you’re baking a layer cake (i.e., not Bundt or sheet pan), make sure you leave any cooling racks in the kitchen! After taking it out of the oven, quickly flip it onto an empty cooling rack. Next, let it sit for at least 10 minutes. This will prevent the cake from sinking while also allowing it to cool evenly.
If you’re baking a Bundt or sheet pancake, then let it rest on its side until completely cooled (upwards of an hour). Remember, because these cakes are flat on all sides, they don’t have any natural ridges for airflow. Instead, they need to be cooled on their sides for the heat to distribute evenly.
Now it’s time for icing and garnishes!
Know-How to Keep Cake From Sticking to Pan
Avoiding a baking disaster is as easy as 1-2-3. Now you know how to keep cake from sticking to pan. Just remember: greasing and flouring, using the right size pan, and cool your cake on a wire rack!
Go ahead and pick out a cake recipe today that you can try your hand at. Gather up all of the recipes for your dish, and don’t forget your preferred non-stick baking spray. You’ll get to enjoy every bite of your delicious creation! For more tips, explore the rest of our site.